Open Graph Protocol - link previewer in nextjs
OsamaNagi
@OsamaNagi
In this article, we will explore how to set up Open Graph Protocol in a Next.js application to create link previews that can be shared on social media platforms. Link previews are essential for enhancing the visibility and engagement of your content when shared on platforms like Facebook, Twitter, and LinkedIn.
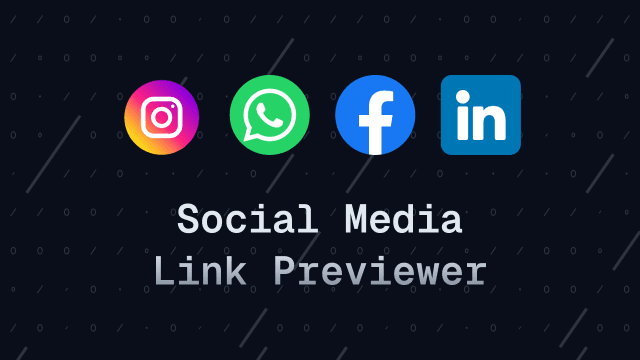
How It looks like when shared on social media
When you share a link on social media, the platform generates a preview of the content. This preview typically includes the title, description, and an image associated with the link. The appearance of this preview can significantly impact how users perceive and interact with your content.
For example:
-
WhatsApp

-
Twitter
-
LinkedIn

In this guide we will generates a link preview for both static and dynamic pages in Next.js. The link preview will include the following elements:
- Title: The title of the page or content.
- Description: A brief description of the content.
- Image: A thumbnail or image that represents the content.
- URL: The URL of the page or content.
you can customize it how you want, to make it more appealing and informative.
Note: This is an important step in SEO and social media marketing, as it helps to improve the click-through rate (CTR) of your links.
What is Open Graph Protocol?
Open Graph Protocol is a set of meta tags that you can add to your HTML to control how your content appears when shared on social media. By using Open Graph tags, you can specify the title, description, image, and other attributes of your content, which will be displayed in the link preview.
This allows you to create a more engaging and visually appealing representation of your content, increasing the likelihood that users will click on your link.
Setting Up Open Graph Protocol in Next.js App Router
To set up Open Graph Protocol in a Next.js application, you need to add the appropriate meta tags to the <head> section of your pages. Next.js provides a built-in method that allows you to manage the document head easily.
Note: This guide assumes you are working with a Next.js App Router configuration.
Now we got the basic idea of what Open Graph Protocol is and how it works, let's dive into the configuration.
I'll assume you have a Next.js application set up. If not, you can create a new Next.js app using the following command:
npx create-next-app@latest my-nextjs-appTo set up link previews in your static pages, you can use the metadata function in your Next.js pages. This function allows you to define the metadata for your page, including Open Graph tags.
layout.tsx
import { Metadata } from 'next';

export const metadata: Metadata = {
	title: {
		template: '%s | website name',
		default: 'website name',
	},
	description: 'Add your description here',
	metadataBase: new URL('your website url'),
	openGraph: {
        // other properties
		images: ['image url'],
	},
};
you can add more configuration to the metadata object, such as keywords, author, and more. For a complete list of available options, check the Next.js documentation.
Twitter also has its own set of meta tags that you can use to customize the link preview. You can add these tags to the metadata object as well.
Extend the metadata object with the following properties:
export const metadata: Metadata = {
    // ... other metadata properties
    twitter: {
        card: 'summary_large_image',
        title: 'Add your title here',
        description: 'Add your description here',
        images: ['image url'],
    },
};
Setting Up Open Graph Protocol in Dynamic Pages
To set up Open Graph Protocol in dynamic pages, you can use the generateMetadata function in your Next.js pages. This function allows you to generate metadata dynamically based on the content of the page.
export async function generateMetadata({ params }: BlogPageItemProps): Promise<Metadata> {
	const blog = await getBlogFromParams(params);

	return {
		title: blog.title,
		description: blog.description,
		authors: {
			name: blog.author,
		},

		openGraph: {
			title: blog.title,
			description: blog.description,
			url: `${siteConfig.url}/blog/${blog.slugAsParams}`,
			type: 'article',
			locale: 'en_US',
			images: [
				{
					url: blog.image,
					width: 1200,
					height: 630,
					alt: blog.title,
					type: 'image/jpeg',
				},
			],
		},
		twitter: {
			card: 'summary_large_image',
			title: blog.title,
			description: blog.description,
			images: [blog.image],
			creator: '@twitter_handle',
		},
	};
}
In this example, we are using the generateMetadata function to fetch the blog post data and generate the Open Graph tags dynamically. You can customize the metadata based on your content.
Now you can see the link preview when you share the page on social media platforms. The preview will include the title, description, and image that you specified in the metadata.
-
WhatsApp
-
Twitter
-
LinkedIn
Testing Your Open Graph Tags
To test your Open Graph tags, you can use the following tools: